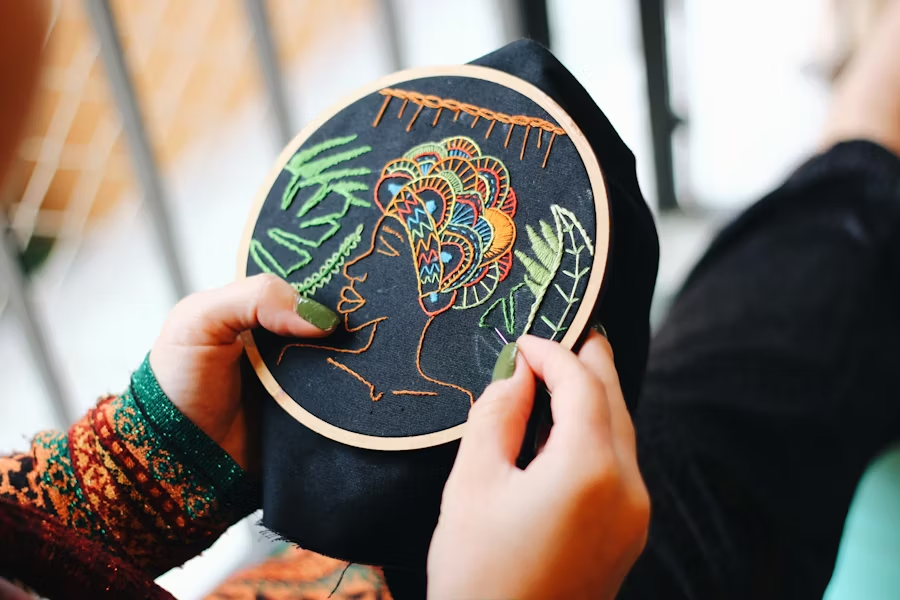
Embroidery is more than a hobby—it’s a calming, hands-on way to create personalized art that you can wear, gift, or display. Whether you want to stitch delicate florals onto a blouse, decorate a tote bag, or monogram a handkerchief, embroidery offers endless creative possibilities. And the best part? You don’t need expensive equipment or years of training to get started.
In this comprehensive guide, we’ll walk you through everything from choosing your first stitches to avoiding common mistakes. We’ll also answer popular beginner questions like What is the easiest embroidery to learn?, How to use an embroidery hoop, and how much does it cost to embroider a shirt. By the end, you’ll feel ready to pick up a needle and start stitching your first project with confidence.
Getting Started with Embroidery
Choosing the Right Project for Beginners
- Start with small, manageable projects
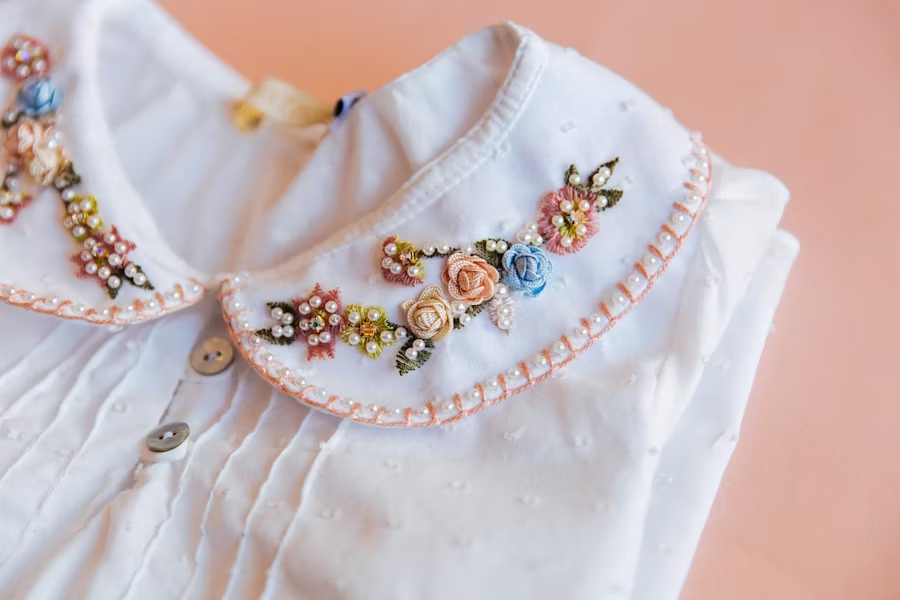
For your first attempt, avoid large or highly detailed designs. A small floral motif, a monogram, or a simple geometric shape is perfect for beginners because you can complete it quickly and see results without frustration.
- Pick designs with simple outlines
Bold, clean lines make it easier to keep your stitches neat. Intricate patterns with tiny details can be overwhelming for your first few tries.
- Select beginner-friendly fabrics
Cotton, linen, or even calico are excellent choices. They have a stable weave that’s easy to pierce with a needle, and they hold stitches well.
- Decide on decorative vs. functional items
Embroidering something you will wear or use regularly means you’ll need stronger stitches and durable threads. Decorative wall art can be more delicate.
- Make it personal
Adding your initials, a favorite flower, or a small meaningful symbol makes the process more engaging and the final result more satisfying.
Essential Tools and Materials for Beginners
- Embroidery hoop
This simple tool keeps your fabric stretched evenly so your stitches don’t pucker. Wooden hoops are popular for beginners because they’re lightweight and easy to tighten.
- Needles
Choose embroidery needles with a sharp tip and a slightly larger eye to make threading easier. Sizes 7–9 are ideal for most beginners.
- Embroidery floss
Usually made from cotton and sold in skeins, embroidery floss consists of six strands that can be separated depending on the thickness you want. Start with a few basic colors.
- Ткань
Avoid stretchy fabrics at first. Instead, go for woven materials like quilting cotton or linen blends.
- Scissors
Small, sharp embroidery scissors let you cut threads close to the fabric without fraying.
- Optional extras
Water-soluble marking pens, a needle threader, and a thread organizer can make your experience smoother.
What is the Easiest Embroidery to Learn?
Beginner-Friendly Stitches
- Backstitch – Ideal for outlining shapes, letters, or simple designs. It’s quick to learn and creates a clean, continuous line.
- Running stitch – The most basic stitch, perfect for decorative borders or creating a dashed-line effect.
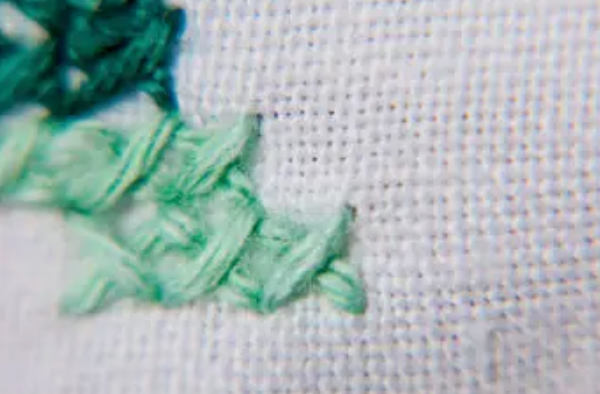
- Satin stitch – Fills shapes with smooth, solid color. Practice keeping your stitches even and parallel for the best look.
- French knots – Add dimension to flowers, eyes, or small accents. They’re easy once you get the hang of wrapping the thread around the needle.
- Chain stitch – Creates a textured, linked pattern. Great for decorative lines or borders.
Why Start Simple
- Build confidence quickly – Mastering a few stitches means you can start creating beautiful designs without feeling overwhelmed.
- Easier to correct mistakes – If you make an error, simple stitches are easier to undo and redo.
- Minimal tools needed – You can start with just a hoop, needle, floss, and fabric—no expensive equipment required.
- Faster progress – You’ll see improvement in just a few projects, motivating you to keep going.
How to Start Embroidery on Clothes
Preparing Your Fabric
- Wash and iron before stitching
This removes any sizing chemicals, softens the fabric, and prevents shrinking after embroidery.
- Mark your design clearly
Use a water-soluble fabric pen, chalk pencil, or heat-erasable marker to transfer your pattern. Avoid permanent markers as they may bleed through stitches.
- Use a stabilizer for stretch fabrics
When working on T-shirts, sweatshirts, or other stretchy clothes, place a piece of stabilizer behind the fabric. This prevents puckering and makes stitching smoother.
Stitching Techniques for Clothing
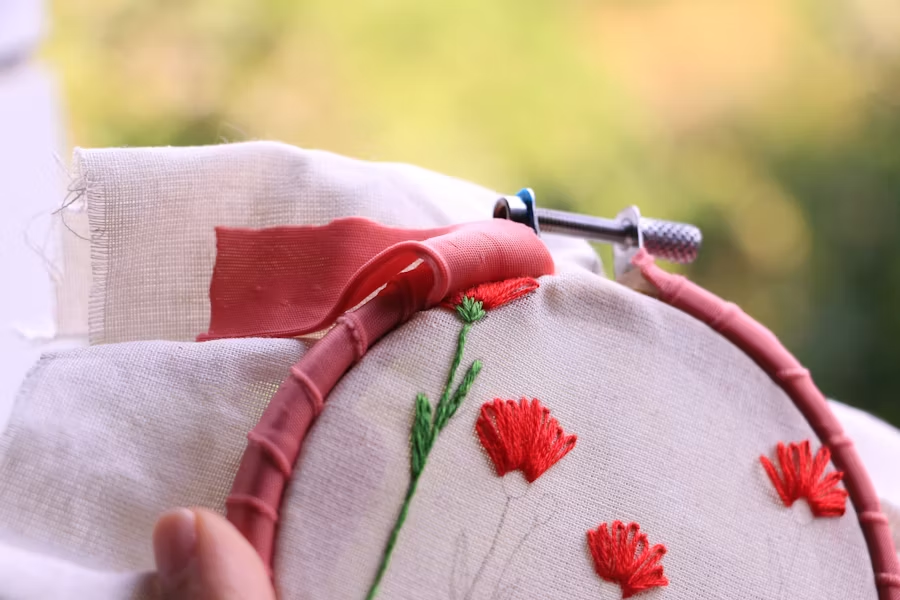
- Secure fabric in a hoop
Even when embroidering on clothes, a hoop ensures consistent tension.
- Start from the middle of the design
This keeps your embroidery balanced and reduces fabric distortion.
- Choose durable stitches
Backstitch and split stitch are great for outlines, while satin stitch works for solid areas. Avoid loose stitches that may snag during wear.
- Secure threads properly
Knot or weave in your thread ends neatly so they don’t unravel after washing.
How to Use an Embroidery Hoop
Setting Up the Hoop
- Loosen the screw – Unscrew the outer ring slightly so it can fit around the inner ring with the fabric in place.
- Lay fabric over the inner ring – Center your design before placing it over the hoop.
- Press the outer ring over the fabric – Push down gently but firmly to sandwich the fabric between the rings.
Tensioning for Smooth Stitching
- Pull fabric gently in all directions – The goal is to smooth wrinkles without distorting the weave.
- Tighten the screw firmly – This keeps the fabric taut during stitching.
- Check by tapping – The fabric should make a soft “drum” sound when tapped. If it sags, adjust before starting.
How Much Does It Cost to Embroider a Shirt?
Factors That Affect Price
- Design complexity – Detailed designs take longer to stitch, whether by hand or machine, increasing labor costs.
- Embroidery size – Larger areas require more thread and time.
- Type of fabric – Thicker or specialty fabrics may require special handling.
- DIY vs. professional services – Doing it yourself saves on labor costs but requires an investment in tools.
Typical Costs
- Professional embroidery shops – Expect $10–$20 for small logos and $25–$40 for larger designs. Custom work may cost more.
- DIY approach – After the initial purchase of a hoop, needles, and scissors (about $15–$30 total), embroidery floss costs around $0.50–$1 per skein, making it very budget-friendly.
How Do I Avoid Common Embroidery Mistakes?
Pulling Thread Too Tight
- Problem – Over-tightening causes puckering and distorts your fabric.
- Fix – Keep tension even and check your work regularly.
Skipping Fabric Preparation
- Problem – Unwashed fabrics may shrink after stitching, ruining your work.
- Fix – Always pre-wash and iron your fabric before starting.
Not Using a Hoop
- Problem – Without a hoop, stitches can become uneven.
- Fix – Always secure your fabric in a hoop for even tension.
Using Low-Quality Thread
- Problem – Cheap thread frays, knots, and fades faster.
- Fix – Invest in reputable brands for smoother stitching and lasting color.
Hangzhou Garment Offers Help
Embroidery is a rewarding craft that combines creativity, patience, and skill. Whether you’re learning how to start embroidery on clothes for personal projects or figuring out how much it costs to embroider a shirt for a side business, the steps in this guide will help you build a strong foundation.
Start with the basics, invest in good tools, and remember—each stitch you make is a step closer to creating something beautiful and uniquely yours.
We are meticulous when it comes to the quality of our fabrics, garments, and production, which leads to sound investment in our BSCI-certified factory.
Each staff member is hand-picked based on their experience in the textile industry and fine workmanship. We also incorporate a strict QC management system to ensure all finished products are free of any defects.
FAQ: Embroidery for Beginners
1. How long does it take to finish an embroidery project?
The time varies depending on design complexity and size. A small 2-inch floral motif might take 1–2 hours, while a detailed shirt design can take 8–12 hours or more. Beginners should start with small projects to gain confidence before committing to larger pieces.
2. What fabric is best for embroidery?
Cotton and linen are the most beginner-friendly because they have a stable weave, making it easy to push the needle through without distorting the design. Avoid very stretchy fabrics until you’re comfortable with stabilizers.
3. Can I embroider without a hoop?
Yes, but it’s harder to maintain even tension. Without a hoop, stitches can become uneven and the fabric may pucker. Beginners are strongly encouraged to use a hoop for the best results.